Cognitive Foundry ver.2
From Mental Model to Multi-Agent System

Hello, and welcome! We’re excited to introduce you to the Cognitive Foundry, a platform designed to revolutionize how we think about and codify business strategy. For decades, business education has relied on static case studies. While valuable, they often present a neat, pre-packaged problem. The real world is rarely so tidy.
The Cognitive Foundry proposes a shift from simply analyzing a case (the “what”) to designing and testing the process of analysis itself (the “how”). Here, you can externalize your internal mental models and strategies, transforming them into executable multi-agent AI systems. By codifying your thinking, you can test it, refine it, and share it with others.
This guide will walk you through the platform, starting with a detailed tour of the user interface and then diving into the core concepts, using a practical Design Thinking workflow as our main example.
A Guided Tour of the Cognitive Foundry
Let’s walk through the process of creating, configuring, and running your own automated strategy step-by-step.
Step 1: Your Dashboard (Sign-Up & Project Creation)
Your journey begins on the authentication page. Once you Sign Up or Sign In, you’ll land on your projects dashboard. This is your home base for all your strategic models. To start, click the “Create Project” button.
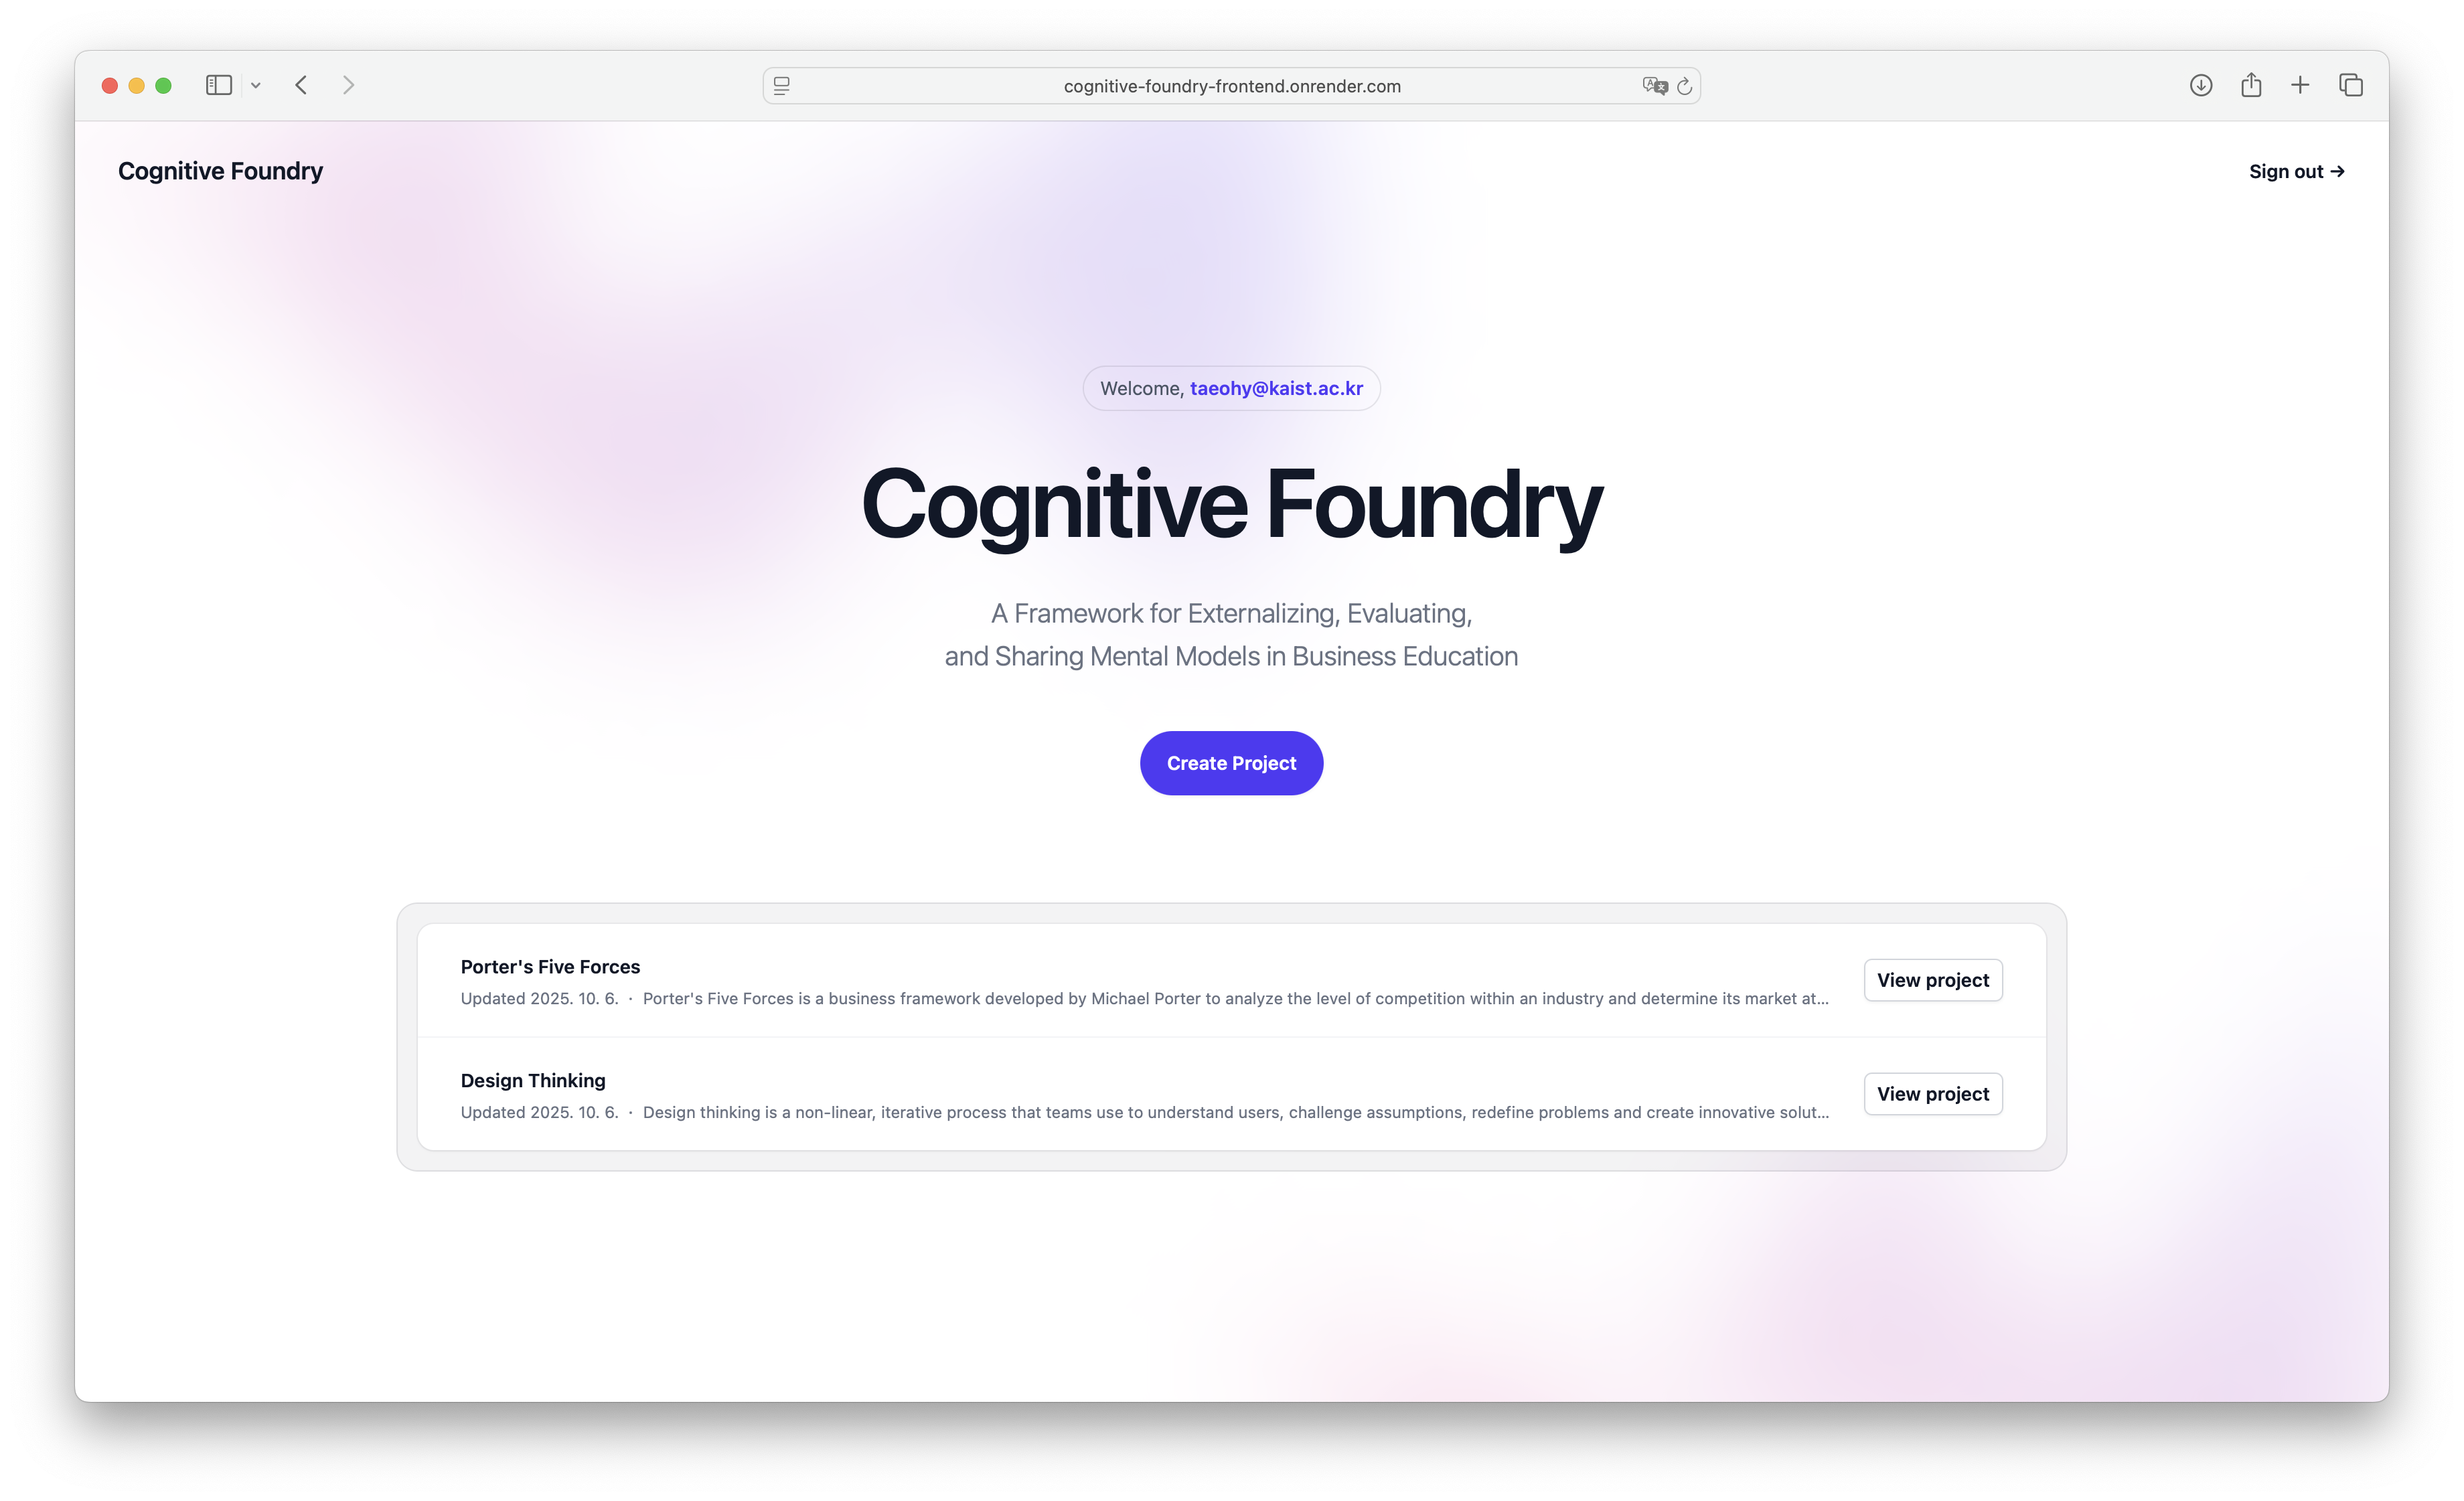
Figure 2:The user’s dashboard where you can create and manage your projects.
Step-by-Step: Creating a New Project
Click “Create Project”: This opens a pop-up window.
Enter Project Name: Give your project a clear, descriptive name that reflects its purpose.
Add a Description (Optional): Briefly explain the goal of this strategic model.
Click “Create”: Your new project will be created, and you will be taken directly to the Agent Editor.
Step 2: The Agent Editor (Your Main Workspace)
Opening a project takes you to the heart of the Foundry: the agent editor. This is where you’ll build and refine your strategy. The screen is divided into a few key areas designed for easy navigation and configuration.
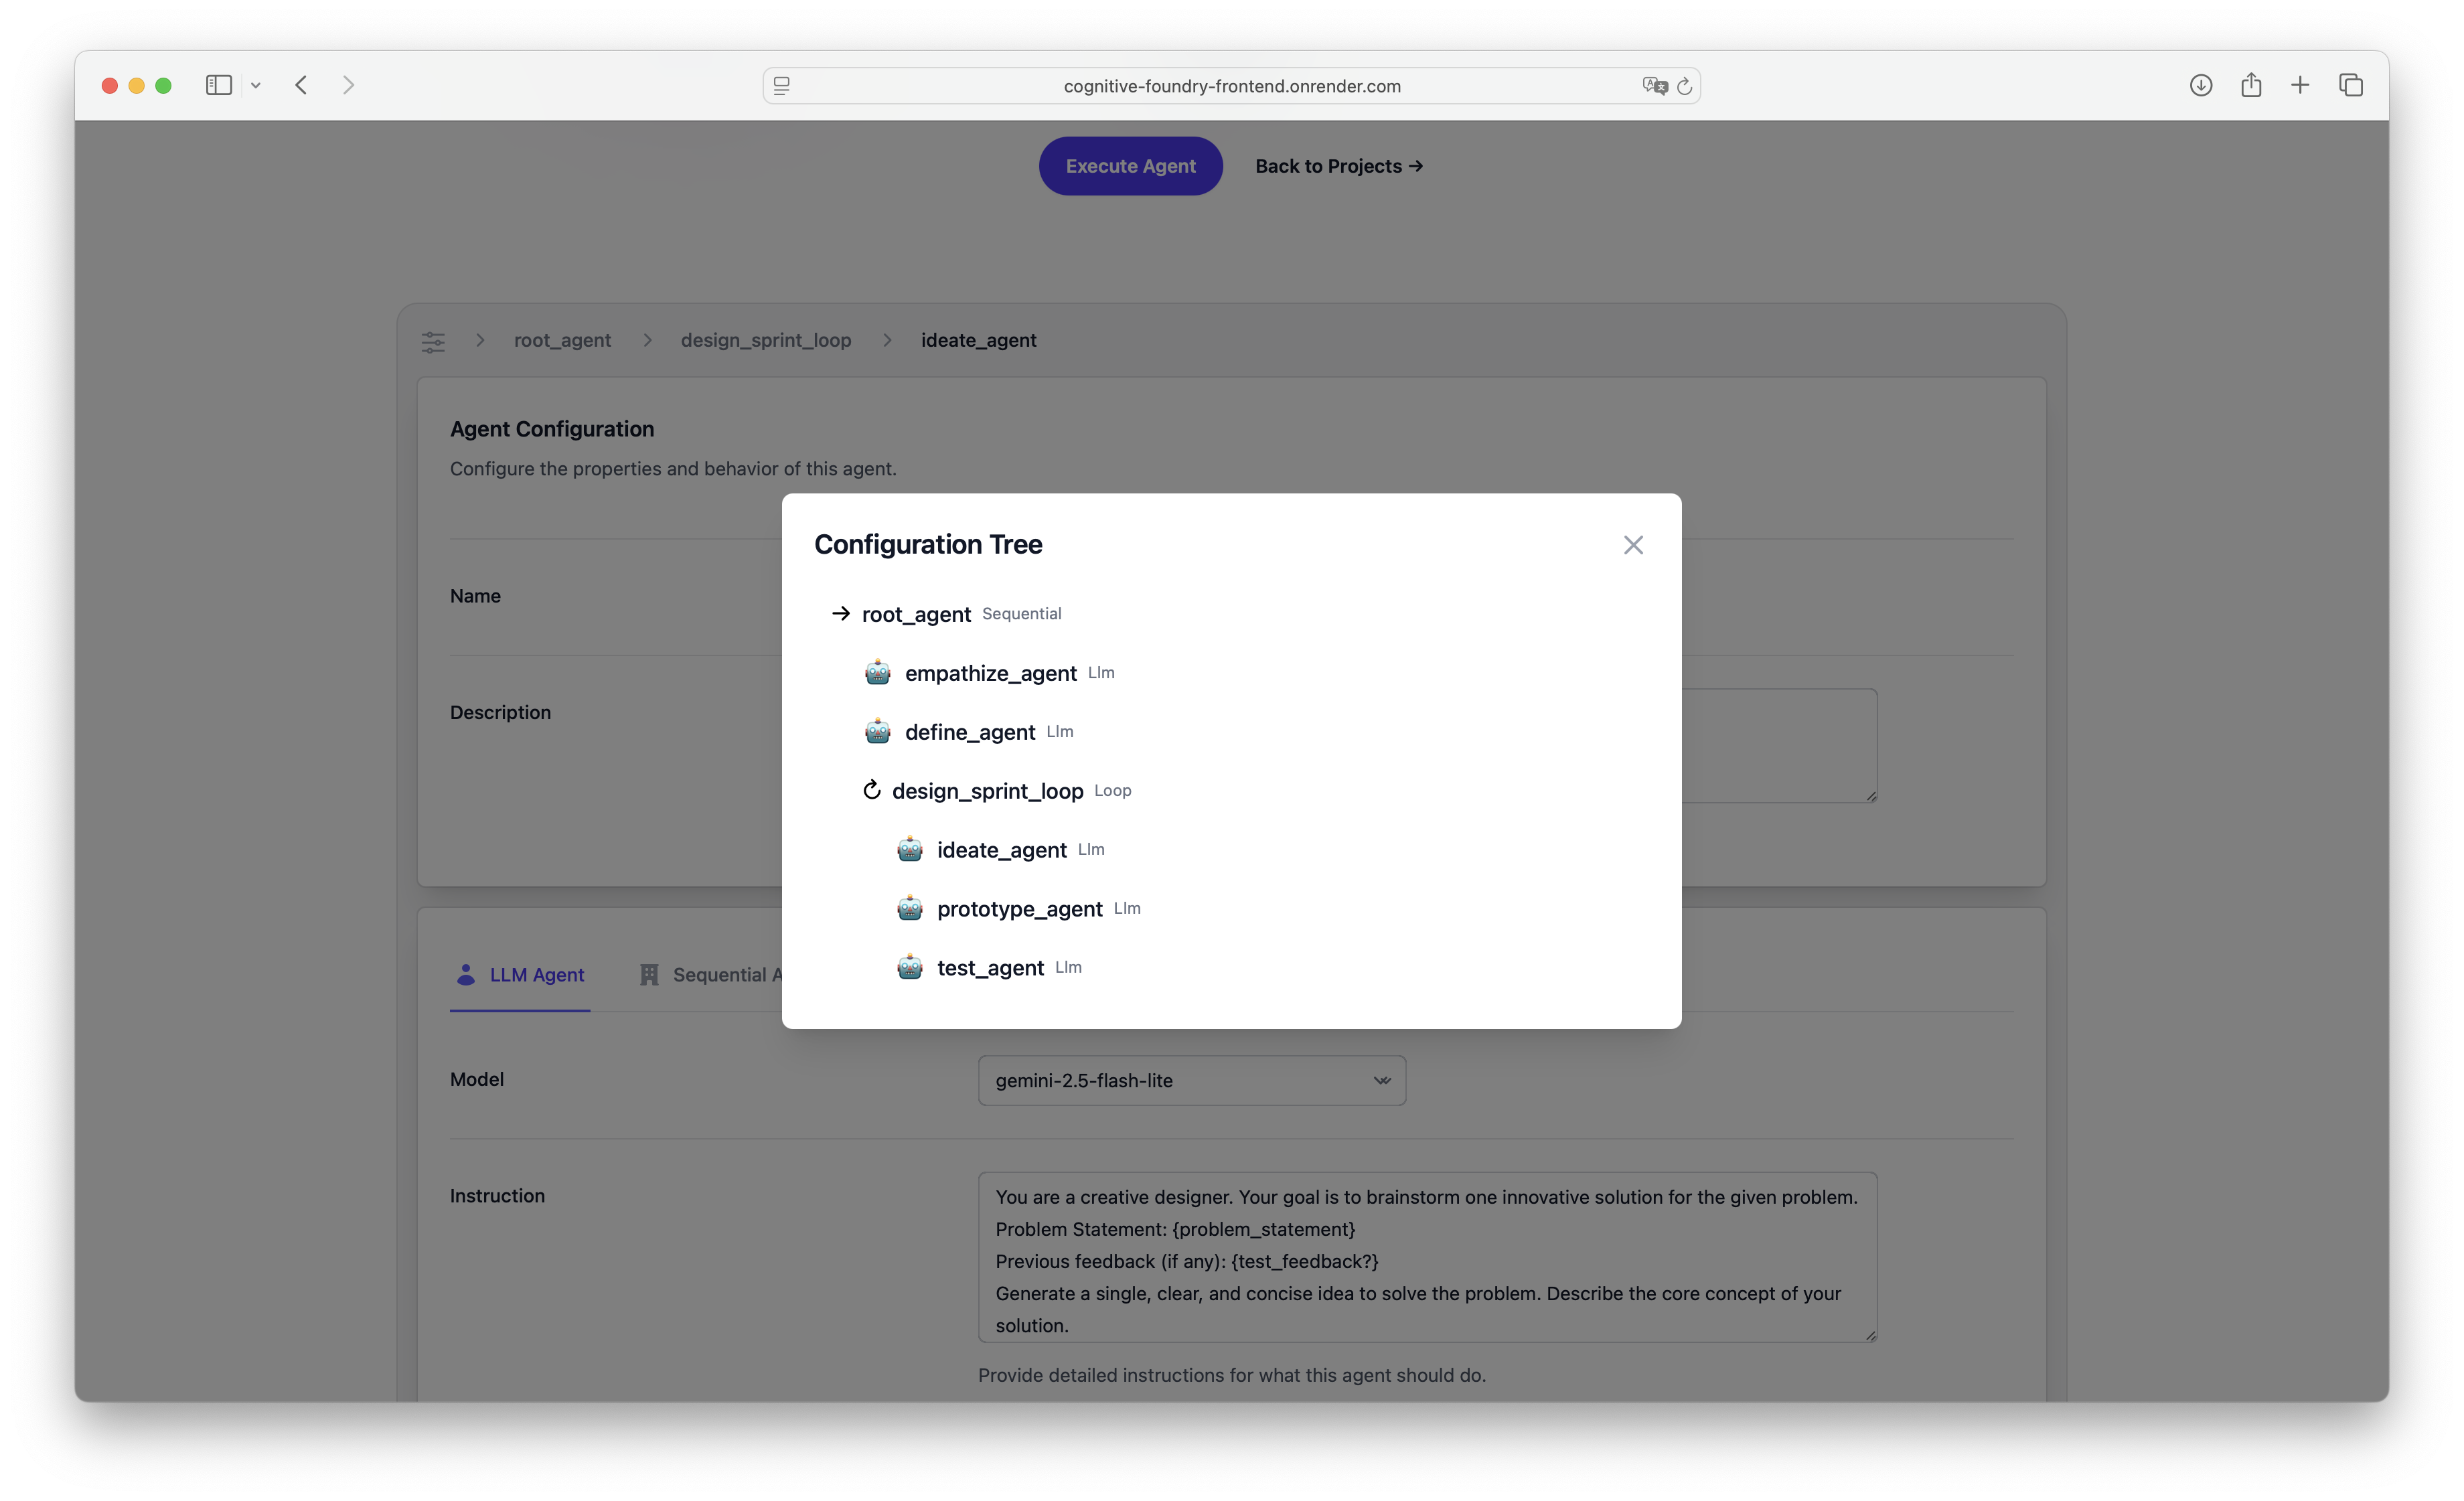
Figure 3:The main agent editor view, showing configuration panels and the visual canvas.
Understanding the Editor Layout
The editor is designed to give you both a high-level overview and detailed control.
The Header: Saving
Save Button: Every time you save, you create a new, permanent version of your configuration.
Reset Button: If you make changes you don’t like, Reset will instantly revert your configuration to the last saved version.
The Top Bar: Navigation
Breadcrumb Navigation: At the very top, this path shows your current location within your agent hierarchy. You can click on any agent’s name in the path to jump directly to its configuration.
Config Tree Button (≡): To the left of the breadcrumbs is a Config tree button. Clicking this opens a complete, hierarchical map of your entire agent system. This is the best way to get a bird’s-eye view of your workflow and quickly navigate between agents.
Agent Vitals: Name & Description
This is the first configuration panel you’ll see.
Name: Give your agent a clear, descriptive name. This makes your workflow much easier to understand.
Description: Explain the agent’s specific role and purpose. This is critical for delegation. When an LlmAgent has sub-agents, it reads their descriptions to decide which one is best suited for a particular sub-task.
Choosing a Role: Agent Type Tabs
Below the vitals, you’ll find tabs to select the agent_class. This choice determines the agent’s fundamental behavior and what configuration options are available.
Step 3: Configuring Your Agents
How you configure an agent depends on its type. Let’s break down the options.
The LlmAgent: The Brains of the Operation
The LLM Agent is your primary tool for tasks that require reasoning, analysis, or content generation. It’s the “thinker” in your system.
Step-by-Step: Configuring an LLM Agent
Select the “LLM Agent” Tab.
Choose a Model: Select the underlying AI model you want the agent to use from the dropdown (e.g., gemini-2.5-flash for speed, gemini-2.5-pro for more complex reasoning).
Write the Instruction: This is the most important field. It’s the “system prompt” or core directive for the agent. A good instruction clearly defines the agent’s:
Persona: “You are a senior market analyst.”
Goal: “Your goal is to identify the top three risks...”
Process & Constraints: “...based only on the provided text. Format your output as a numbered list.”
Assign an Output Key (Optional): If you want to use this agent’s result in a later step, give it a variable name here (e.g., risk_assessment). This is how you pass information between agents.
Enable Tools (Optional): If your agent needs to access real-time information, check the Google Search box.
Add Sub-Agents (Optional): If this LlmAgent needs to delegate tasks, you can add sub-agents to it using the visual canvas below.
Container Agents: Building Workflows on the Canvas
For Sequential, Parallel, and Loop agents, the configuration is visual. These agents are “managers” that orchestrate the work of other agents.
Step-by-Step: Building a Workflow on the Canvas
Select a Container Agent Tab (e.g., SequentialAgent). The main panel will be replaced by a visual canvas.
Add a Sub-Agent:
Find the “Add Sub Agent” form on the bottom right of the canvas.
Give your new agent a name and choose its type from the dropdown.
Click the “Add Sub Agent” button. The new agent will appear as a node on the canvas.
Configure the Sub-Agent: Click the “Edit Agent” button on the new node. This will navigate you to that agent’s configuration screen, where you can set its instructions, tools, etc. Use the breadcrumbs at the top to navigate back to the parent agent.
Set Loop Iterations: If you are configuring a LoopAgent, a “Max Iterations” panel will appear in the top left of the canvas. Use this field to control exactly how many times the loop should run.
Step 4: Execution & Analysis
Once your strategy is configured and saved, it’s time to test it.

Figure 4:The execution panel where you can run your agent, see live results, and review past runs.
Step-by-Step: Running and Reviewing Your Strategy
Open the Execution Panel: Click the main “Execute Agent” button on the project page to open a side panel.
Write Your Query: In the text area at the top, enter the initial prompt or business problem you want your agent system to solve (e.g., “Analyze the feasibility of launching a new coffee brand in Italy.”).
Click “Execute Agent”: The system will begin processing your query.
View Live Results: As the system runs, each step of your workflow will appear in the panel in real-time. You can see which agent is running and what its output is. This is invaluable for debugging and understanding how your strategy unfolds.
Review the Final Output: Once the entire workflow is complete, the final result will be clearly displayed.
Explore the Execution History: Every run is automatically saved. In the “History” section below, you can find a list of all past executions. Click on any of them to expand and review the initial query, the final result, and a complete, step-by-step breakdown of the entire process.
Core Concepts: How Agents Work Together
Now that you know your way around the UI, let’s solidify the core concepts that power your executable models.
The Four Agent Types
Your strategic workflows are built using four fundamental agent roles.
- LlmAgent (The Thinker)
- This is the agent that performs the actual “work” of thinking, analyzing, and writing. It responds based on the Instruction you give it. It can also act as a smart router, delegating tasks to other agents.
- SequentialAgent (The Project Manager)
- This agent executes a list of sub-agents one after another, in a strict order. It’s perfect for linear processes where the output of one step is the input for the next.
- ParallelAgent (The Multitasker)
- This agent executes all of its sub-agents at the same time and gathers their results. Use this when you need to explore multiple facets of a problem independently, like getting a financial, marketing, and operational perspective on a decision.
- LoopAgent (The Refiner)
- This agent repeats a sequence of sub-agents a set number of times. It’s ideal for iterative processes like drafting, getting feedback, and refining an idea until it meets a certain quality standard.
How Agents Communicate: output_key Explained
Agents work in isolation unless you explicitly tell them how to share information. The output_key is the simple but powerful mechanism for this communication.
In-Depth: Using output_key to Pass Information
Think of an output_key as creating a variable.
Storing the Output: When you configure an agent and give it an output_key (e.g.,
empathy_summary), its final result is stored under that name.Accessing the Output: Another agent later in the workflow can then access that information by referencing the key in curly braces within its own Instruction field. For example: Based on the following research:
{empathy_summary}, please define the core problem.Handling Optional Inputs: Sometimes, an input might not exist on the first run (like feedback in a loop). To prevent errors, you can make a key optional by adding a question mark:
{test_feedback?}. If the test_feedback variable doesn’t exist, the agent will simply see an empty space instead of failing.
Putting It All Together: A Design Thinking Example
The design_thinking.json file provides a perfect example of these concepts in action, codifying the classic innovation process into an executable strategy.

Figure 5:A diagram showing the sequential flow of the Design Thinking agent system.
The entire process is orchestrated by a main SequentialAgent named root_agent:
Empathize (empathize_agent): This LlmAgent is instructed to act as a user researcher. It analyzes the initial query and saves its findings to the output key
empathy_summary.Define (define_agent): This LlmAgent is instructed to act as a product manager. It uses the
{empathy_summary}to create a concise problem statement, which it saves to theproblem_statementoutput key.Ideate, Prototype, Test (design_sprint_loop): This is handled by a LoopAgent called design_sprint_loop, which runs for 3 iterations. Inside this loop is another sequence:
Ideate (ideate_agent): A designer agent that uses the
{problem_statement}and any{test_feedback?}to brainstorm a solution, saving it ascurrent_idea.Prototype (prototype_agent): A prototyper agent that creates a text-based representation of the
{current_idea}, saving it ascurrent_prototype.Test (test_agent): A QA analyst agent that evaluates the
{current_prototype}against the{problem_statement}. If it’s not good enough, it provides constructive criticism saved astest_feedbackfor the next loop.
This structure perfectly demonstrates how different agents, each with a specific role defined in its Instruction and connected by output keys, can collaborate to execute a complex strategy.
We hope this guide helps you get started on your journey with the Cognitive Foundry. We can’t wait to see the incredible mental models you’ll build, test, and share!